


So I did my first blog entry over a year ago...and needless to say, it has taken a back seat. Life has happened, both the ups and the downs, but I thought I'd document one of the highlights of our year so far. Chris and I bought our first home on April 1st, Happy April Fool's Day to us! It's a ranch home that was built in 1960 with plenty of space in an older, quiet neighborhood in Lexington. It really was a gift from Jesus and we are grateful to him for providing for us.
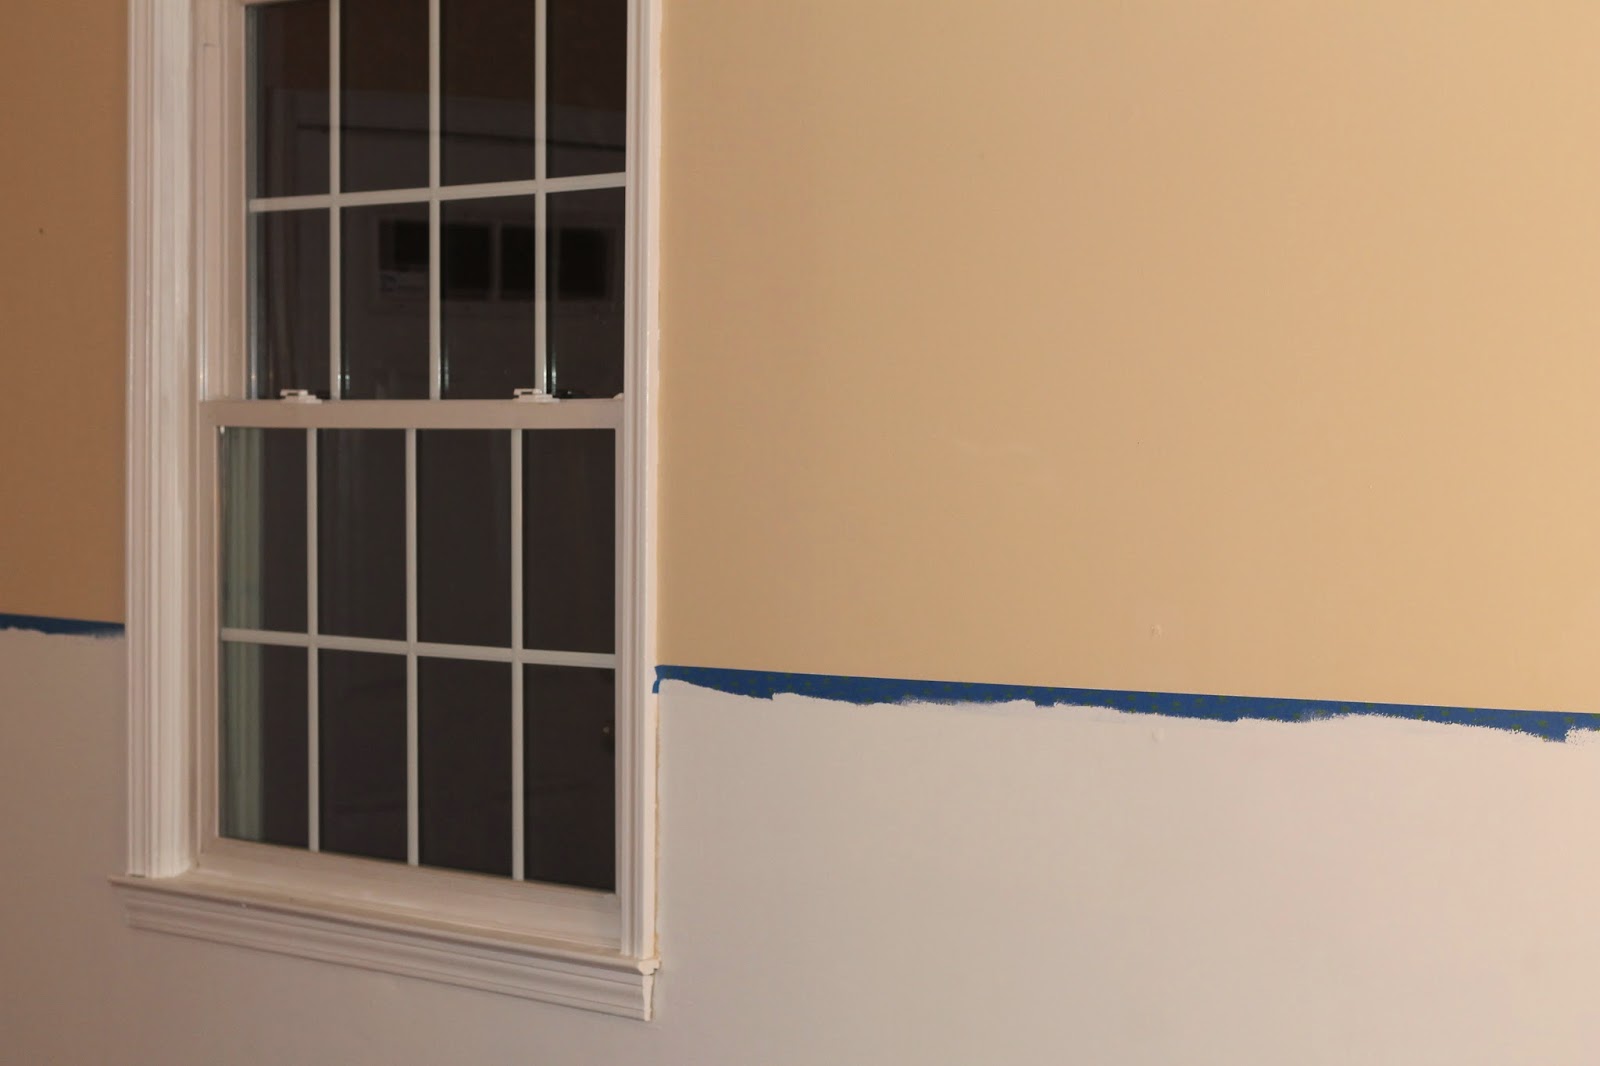
One thing we liked about the house was that it had character, but it was also pretty much a blank slate. I understand that when people put their house on the market, they often paint it a neutral color in order for it to sell. For some reason, the "neutral" that the previous owners chose is more of a peach.
It didn't really stand out to me when looking at the home, but when we moved in and there were bare walls everywhere Valspar's shade "Bread Basket" became nauseating.
One of our favorite features about the home was/is the huge living room. The idea of having a large space where we could host LifeGroup, friends, and family was appealing, and we liked the idea of having a large, open kitchen/dining room/living room even if it meant smaller bedrooms because that's where we would be spending the majority of our time. This is an iPhone picture I randomly took at LifeGroup, and it will have to serve as my "before" photo for our living room makeover because I didn't start taking pictures of the project until we started (rookie mistake).
.jpg)
We knew we wanted to add some updates to the home, but had a pretty tight budget which means doing the work ourselves and doing it the most economical way possible. I had the idea that we would add paneling to the bottom part of the living room walls to give the room some texture/interest and also tie the whole room together. We debated on whether we would paint the paneling white and paint the top part of the room a color or vice versa, but decided on white paneling with an accent color above. Our first step was to tape off the bottom section of the wall and paint it white.

We then had to choose what color the top part of the walls would be. We had three colors mixed as samples.
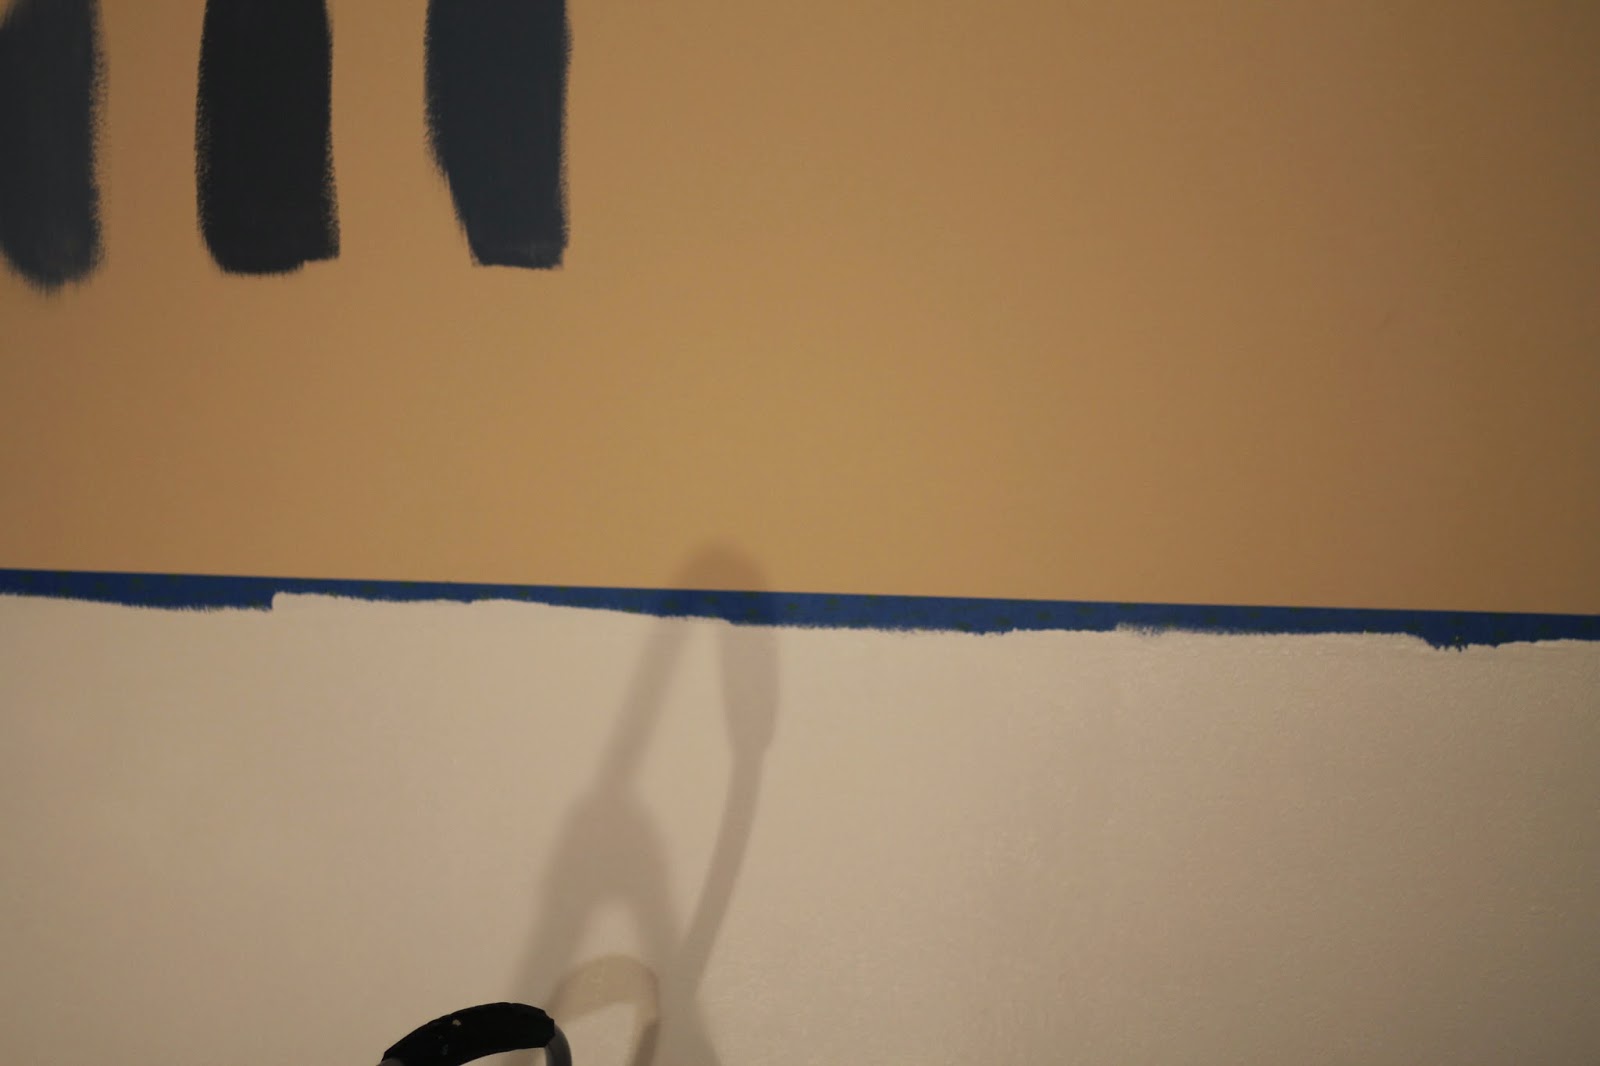
The winner was Retro Colonial Blue, which I think is the color on the far left.

We purchased several pieces of MDF and had a guy at Lowe's cut the pieces into the exact width we wanted. Chris did a great drawing of how the pattern of paneling would look, and he basically took it from there. He did have to cut the pieces length-wise several times during the process, but the width was consistent.
I was assigned the task of painting the MDF white, which resulted in me borrowing the patio furniture in order to support the boards, and also accidentally getting drops of white paint all over the patio furniture. Glad it's inexpensive!

We were both kind of nervous when we starting attaching the boards to the wall with a nail gun, what if it looked terrible? It was pretty exciting seeing the vision become a reality. As Chris would attest, this project is not for the faint of heart. Lots of measuring, cutting, and nailing.


After securing the boards, they looked like this. The boards would still need to be painted again and the cracks filled in with caulk
for a smoother and brighter finish.
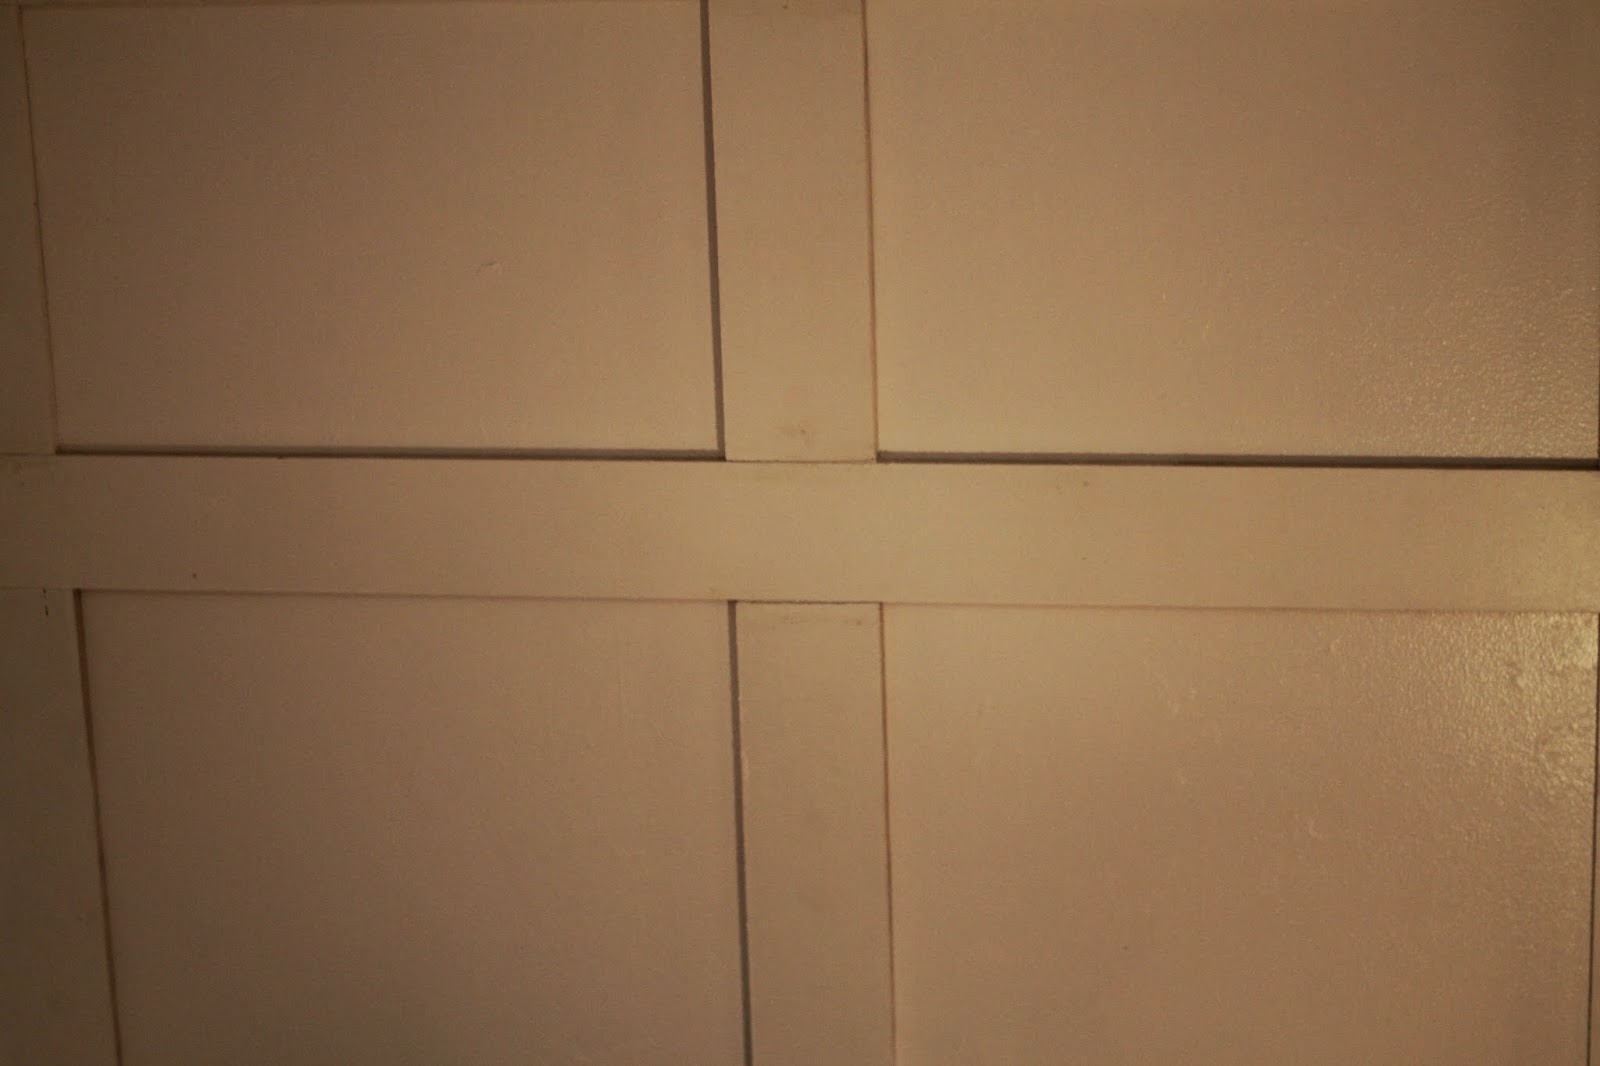
This
was a progress picture before we added the trim to the top of the
paneling.

And..here's the final reveal. I have to brag on my husband because he did an amazing job and we both love how it turned out.
.jpg)
.jpg)